ReactJS
Sử dụng router trong reactjs
Giới thiệu nội dung bài viết
Chào các em, hôm nay anh sẽ hướng dẫn mọi người hiểu về router trong reactjs.
1. Cài đặt react router
Cách đơn giản nhất để cài react-router là chạy command line sau đây
1
C:\Users\username\Desktop\reactApp>npm install react-router
2. Tạo các component
Trong ví dụ sau đây chúng ta sẽ tạo 4 component. Chúng ta sẽ sử dụng App component như một menu.
Chúng ta có 3 component Home, About, và Contact sẽ được hiển thị dựa vào Router thay đổi.
Chúng ta có file App.jsx như sau
1
2
3
4
5
6
7
8
9
10
11
12
13
14
15
16
17
18
19
20
21
22
23
24
25
26
27
28
29
30
31
32
33
34
35
36
37
38
39
40
41
42
43
44
45
46
47
48
49
50
51
52
import React from 'react';
import ReactDOM from 'react-dom';
import { Router, Route, Link, browserHistory, IndexRoute } from 'react-router'

class App extends React.Component {
   render() {
      return (
         <div>
            <ul>
            <li>Home</li>
            <li>About</li>
            <li>Contact</li>
            </ul>
            {this.props.children}
         </div>
      )
   }
}
export default App;

class Home extends React.Component {
   render() {
      return (
         <div>
            <h1>Home...</h1>
         </div>
      )
   }
}
export default Home;

class About extends React.Component {
   render() {
      return (
         <div>
            <h1>About...</h1>
         </div>
      )
   }
}
export default About;

class Contact extends React.Component {
   render() {
      return (
         <div>
            <h1>Contact...</h1>
         </div>
      )
   }
}
export default Contact;
3. Thêm Router
Chúng ta sử dụng thẻ Router để thực hiện việc navigate giữa các trang web như sau.
Chúng ta có file main.js
1
2
3
4
5
6
7
8
9
10
ReactDOM.render((
   <Router history = {browserHistory}>
      <Route path = "/" component = {App}>
         <IndexRoute component = {Home} />
         <Route path = "home" component = {Home} />
         <Route path = "about" component = {About} />
         <Route path = "contact" component = {Contact} />
      </Route>
   </Router>
), document.getElementById('app'))
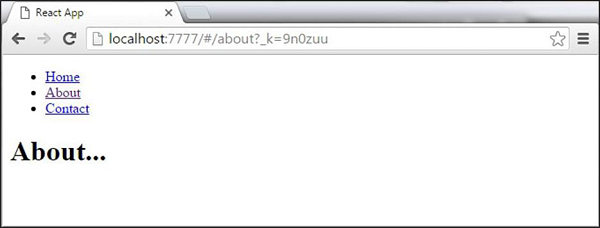
Khi ứng dụng web chạy chúng ta sẽ thấy được 3 cái link như sau. Click vào mỗi cái link sẽ cho kết quả trang web tương ứng


